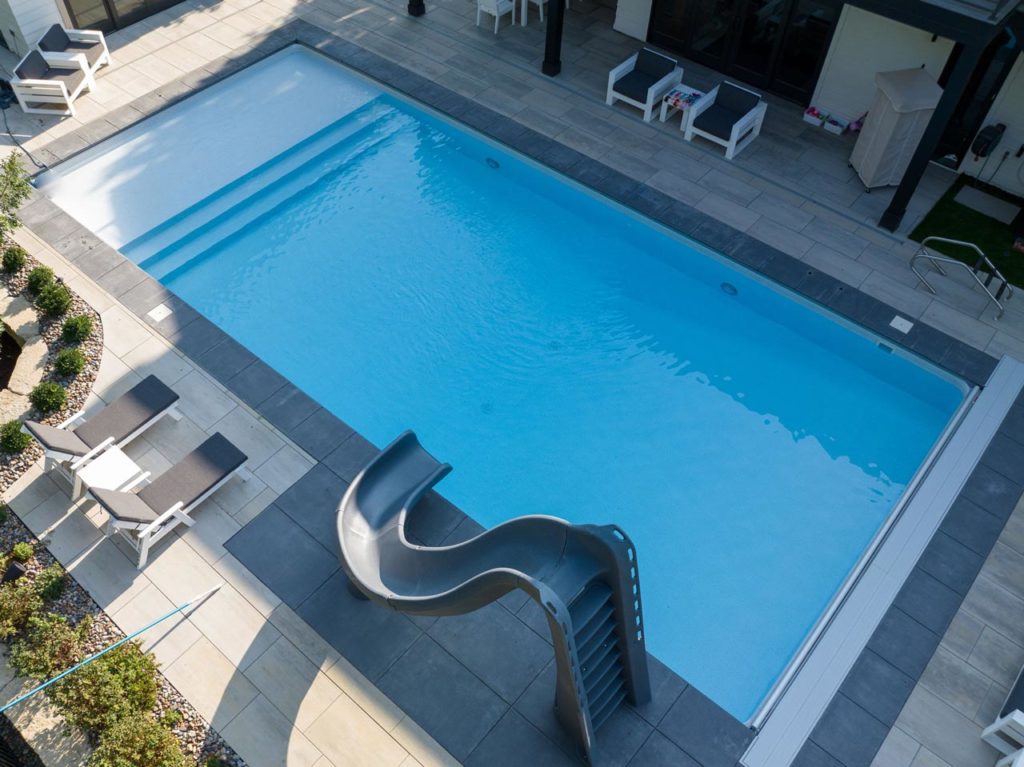
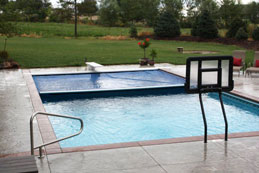
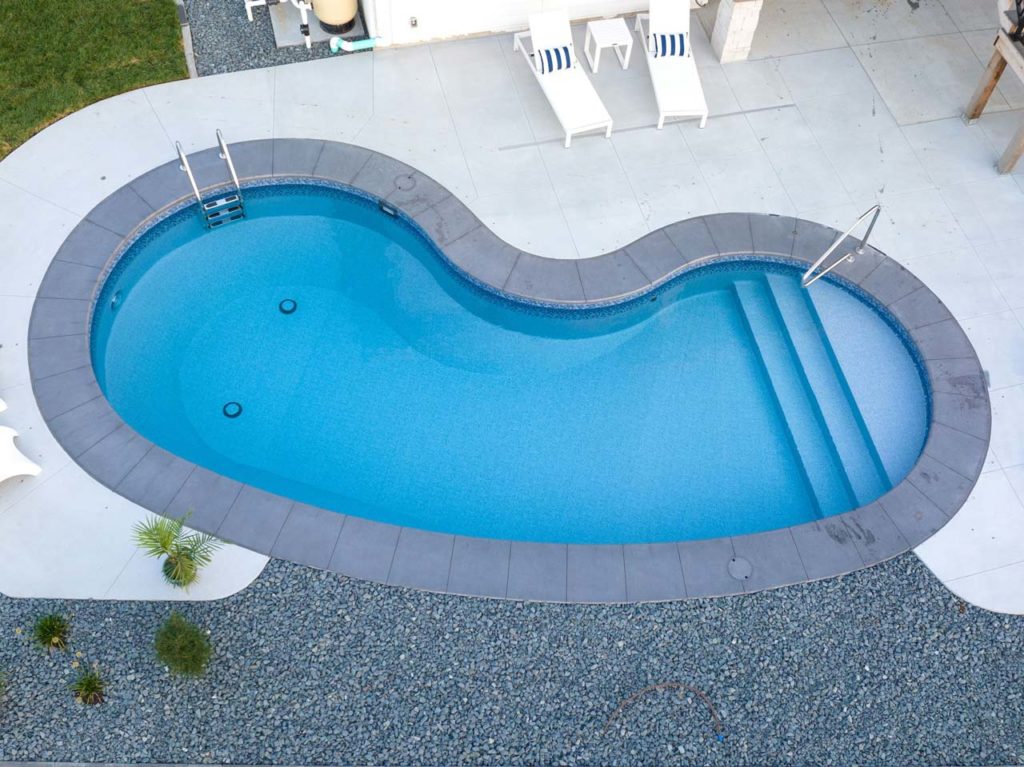
Vinyl Liner Pool
To provide you with insight into the installation of your new pool, we’ve outlined the step-by-step swimming pool construction process:
1. Site Planning: The process begins with the placement of the pool in your yard.
Homeowners may work with a landscape designer for optimal placement and overall
landscape design.
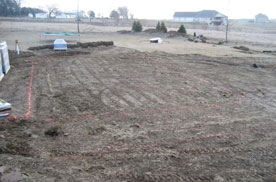
2. Utilities/Permits: Locate and, if necessary, move utilities. Obtain necessary permits. Pool is laid out, and excavation begins.
3. Excavation: Pool excavation typically takes one day. Backhoes or excavators are used, and dirt is hauled away or piled on-site for landscaping.
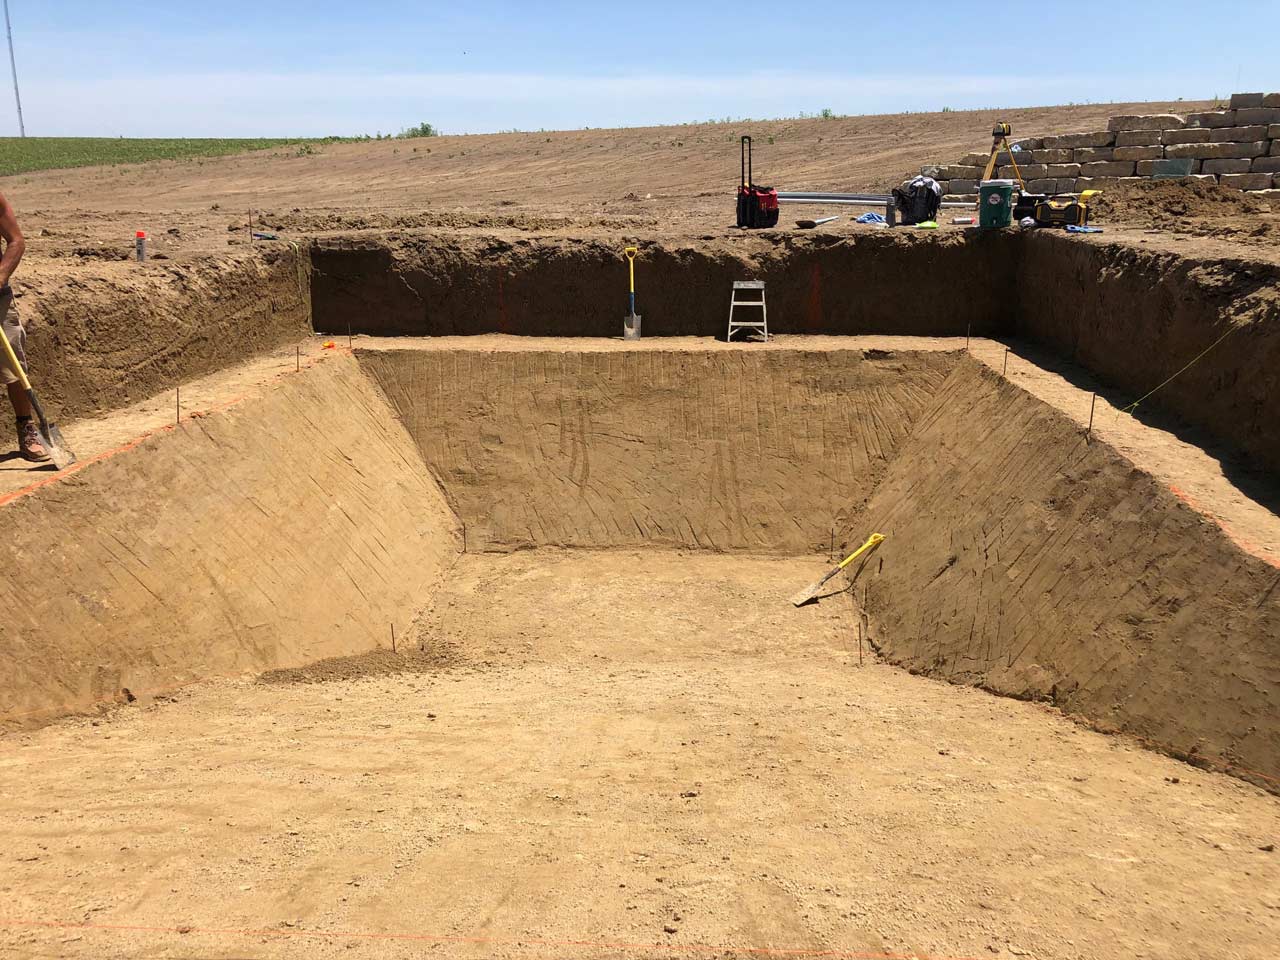
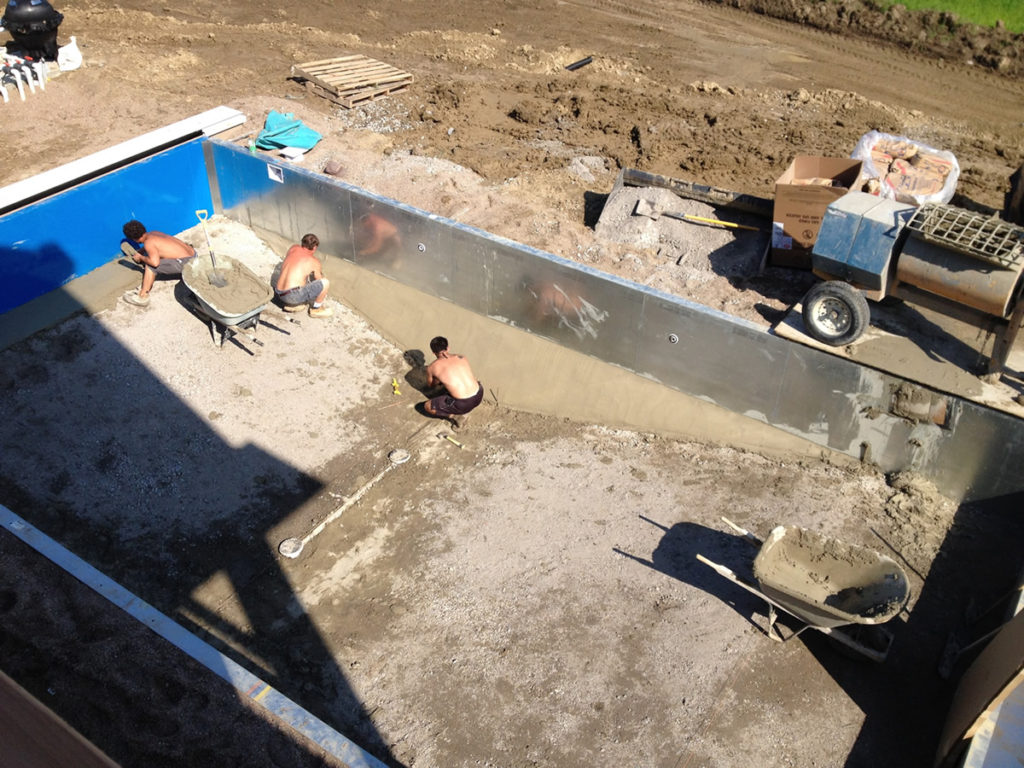
4. Pool Structure: Set walls or forms and rebar, followed by pouring a concrete footing around the pool. Shape the pool bottom, set elevations, and pour a base of Pool Crete.
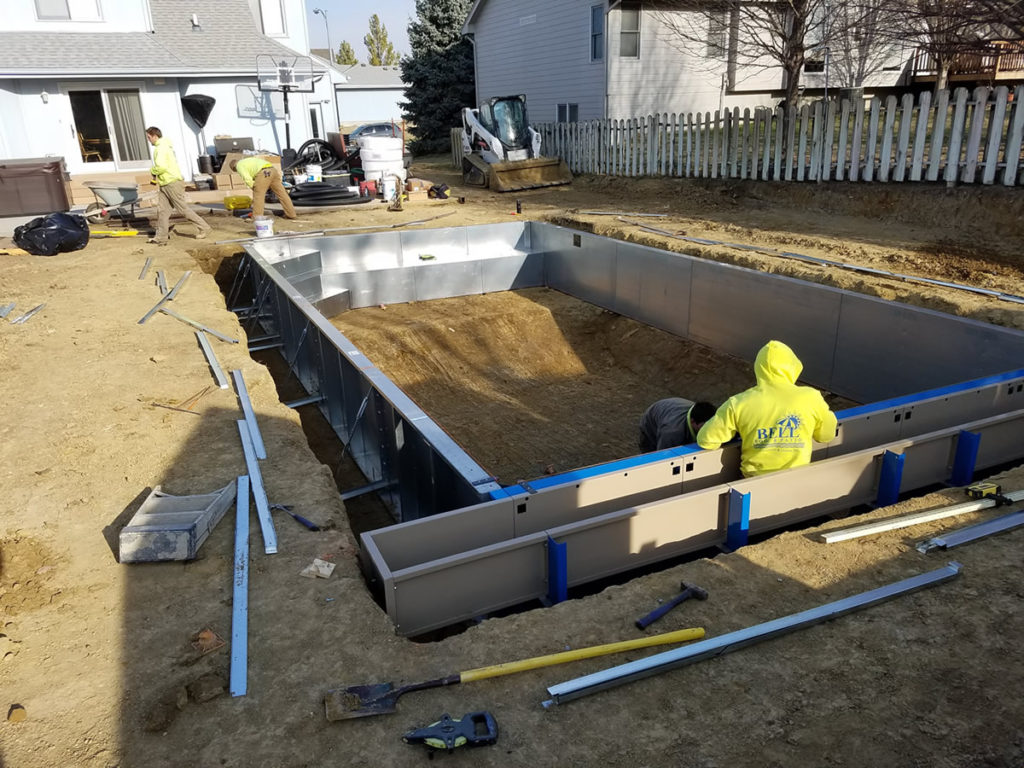
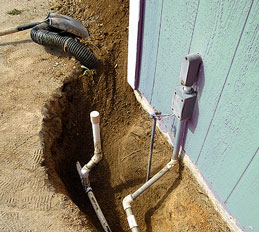
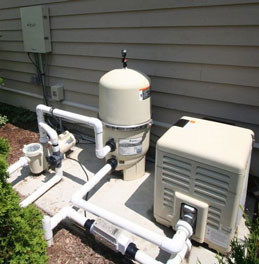
5. Utilities, Plumbing & Equipment: Place plumbing, lighting, and electrical needs.Trenches run from the pool to the equipment pad. The equipment pad accommodates the pump, filter, heater, and sanitizing system.
 6. Inspections: Complete necessary inspections at this stage.

7. Backfilling & Pool Deck Installation: Backfill trenches with pea gravel or dirt. Grade around the pool for deck installation. Options include concrete, stamped finishes, pavers, or stone decking.
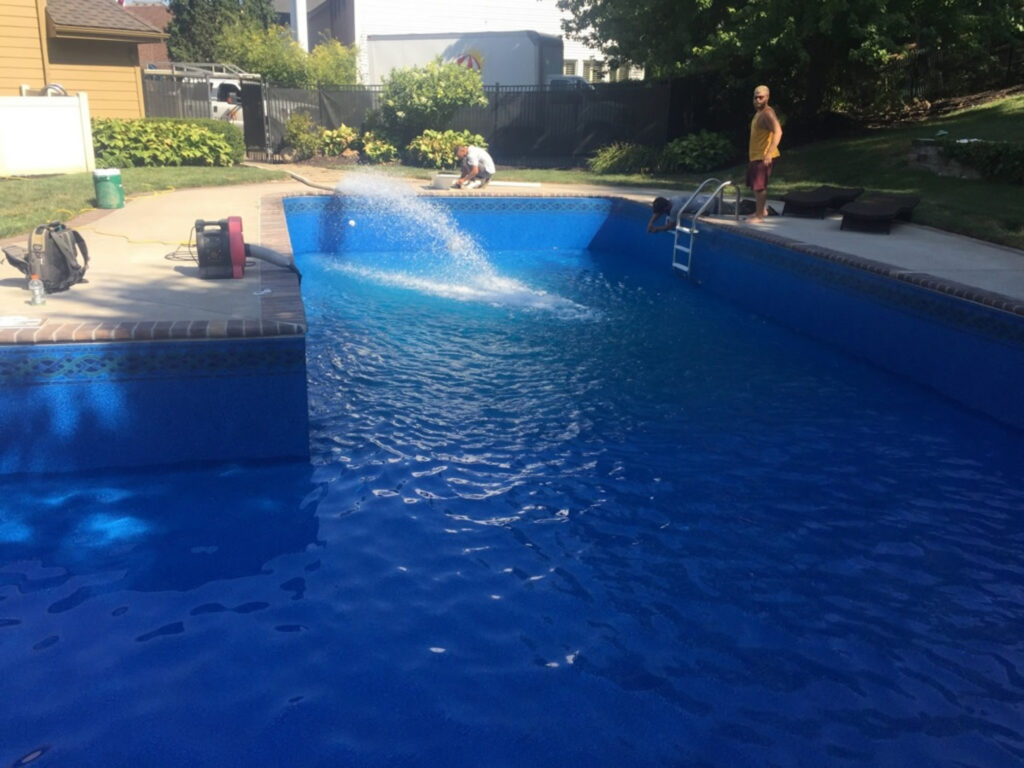
8. Install Vinyl Liner, Fill Pool & Start Equipment: Install the vinyl liner, fill the pool with water, and start pool equipment. Balance chemicals.
9. Install Automatic and/or Winter Cover: If included, install automatic cover after pool is filled. Lastly, install the mesh winter cover.
10. Pool Orientation: Complete pool orientation with homeowners, covering pool, equipment, cleaning, chemistry, operations, warranties, and safety information. Review and sign off on safety information.
11. Enjoy Your New Pool! We’re always available for any questions or assistance. Your satisfaction and enjoyment are our priorities.